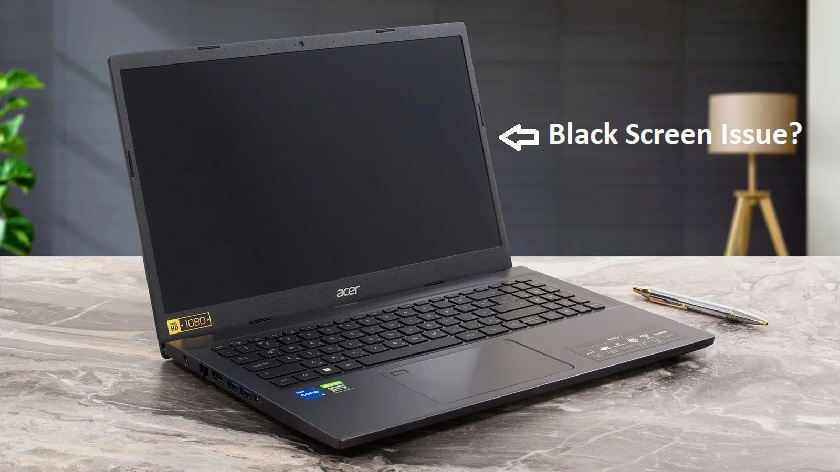
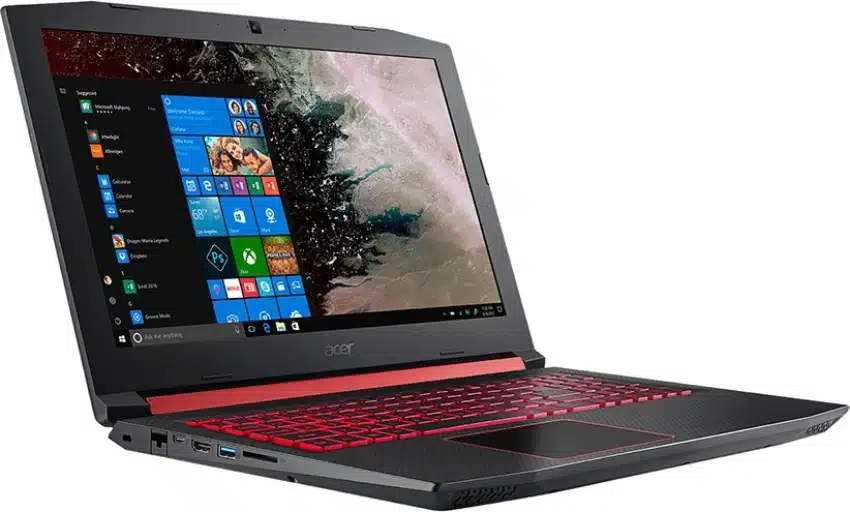
Is your Acer laptop’s touchpad either not working or unresponsive? A non-working touchpad might be annoying, therefore influencing ease of use and output. PC Fix London is here to assist with hardware, driver conflict, or software bug. Our knowledgeable staff specializes in identifying and fixing Acer laptop touchpad problems to bring back seamless operation.
Common Problems with Acer Laptop Touchpads
There are various reasons a touchpad could be defective, including:
- Unresponsive or frozen touchpad: The pointer does not move even with several efforts.
- Touchpad not detecting taps or clicks: Right and left clicks have no register.
- Not working are multi-touch motions: Disabled are pinch-to–zoom, scrolling, or other movements.
- Unpredictable cursor movement: The cursor jumps or moves unexpectedly.
- Disabled touchpad: The touchpad may be turned off in settings or locked by a function key.
- Driver or software conflicts: Outdated, missing, or corrupted drivers generating failures either by driver or program conflict.
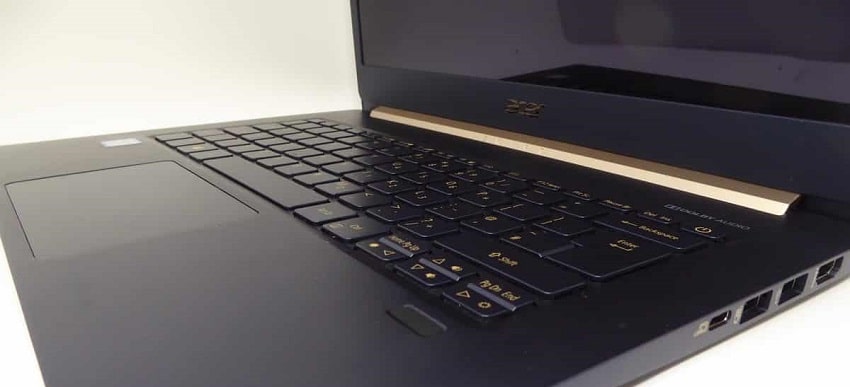
- Hardware damage: actual touchpad or internal component damage.
Fixing Acer Laptop Touchpad Problems
Try the following troubleshooting techniques before calling in expert repairs:
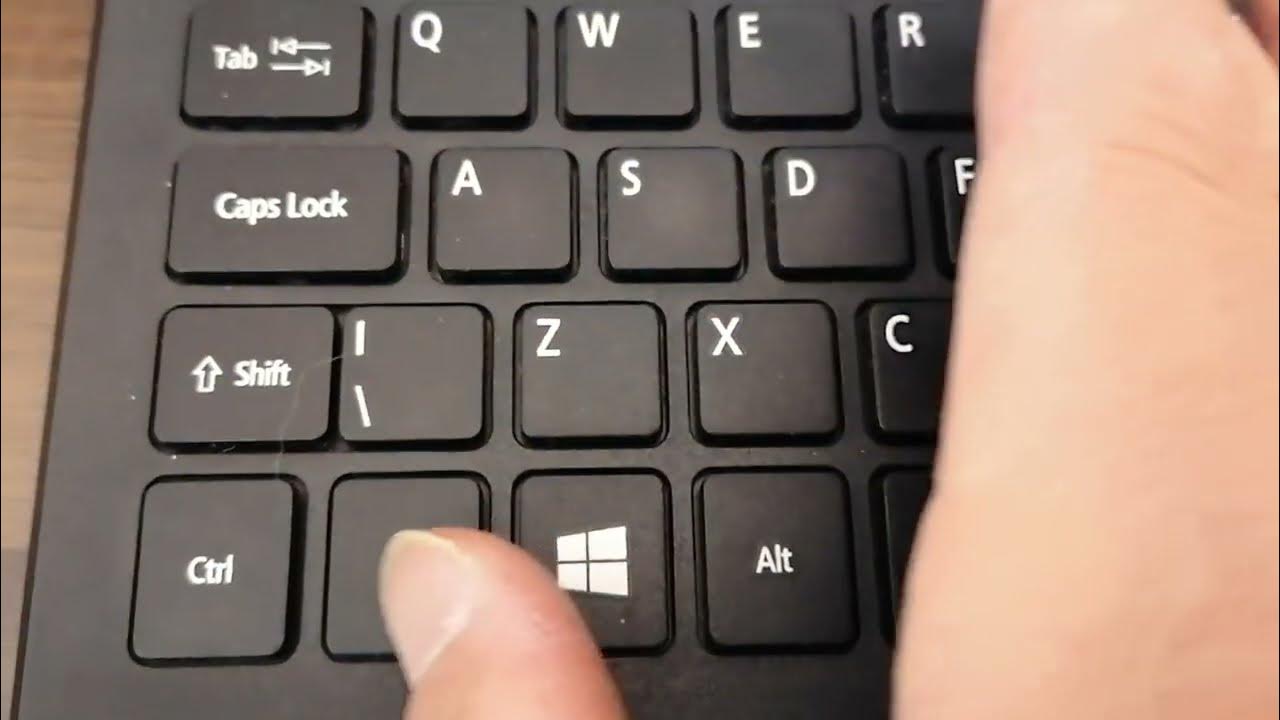
- Enable the Touchpad – Turn on the Touchpad with Fn + F7 (or the assigned function key).
- Restart Your Laptop – Sometimes a basic reboot fixes temporary software problems.
- Review the Touchpad Settings – Check it’s turned on by going to Settings > Devices > Touchpad.
- Reinstall or update drivers – Touchpad drivers may be updated or reinstalled using Device Manager.
- Perform a System Restore – rolling back changes can assist if the problem began following an upgrade.
- Look for external mouse interference – occasionally the touchpad will be disabled by connecting an external mouse.
- Search for malware – some of these infections can affect input devices.
Should these measures fail, it is advisable to consult a professional for repairs to avoid more problems.
How PC Fix London Might be Beneficial
Expert Acer laptop repair services are available at PC Fix London to guarantee fast and effective resolution of your touchpad problems. Our offerings cover:
- Accurate Diagnosis: We investigate the touchpad issue holistically in order to find its source.
- Driver and Software Fixes: Our staff reinstalls or updates required drivers to restore touchpad capability using driver and software fixes.
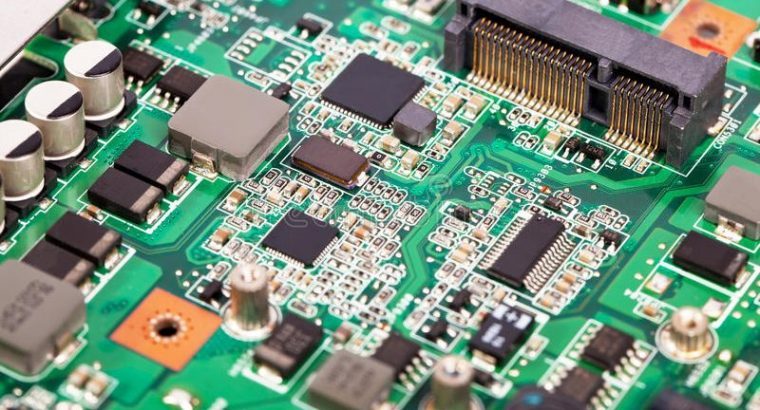
- Hardware Repair & Replacement: Should the touchpad be physically damaged; we substitute authentic Acer components.
- System optimization: its guarantees that a flawless user experience results from resolution of all software conflicts.
- Same-day repair: Subject to component availability, we provide quick and dependable repair services same-day.
- No Fix, No Fee Policy: Should we fail to resolve it, you pay nothing.
Why would you want PC Fix London?
- Certified Technicians: Our knowledge of Acer laptop repairs is really broad.
- Original Parts: We replace just original Acer parts.
- Walk-in repairs: no appointment required; come see us any time for service.
- Customer Satisfaction: Our first concerns are dependable repairs and high-quality work.
Get in touch with us.
Should your Acer laptop touchpad fail, avoid letting the problem slow you down? For skilled repairs, visit PC Fix London. For help, either email contact@pcfixlondon.com or call 020 7018 7490.
Fix Your Acer Laptop Today!
Whether it’s a little setting change or a significant hardware replacement, PC Fix London guarantees perfect functionality of your Acer laptop touchpad. Come see us now for dependable, expert repairs.
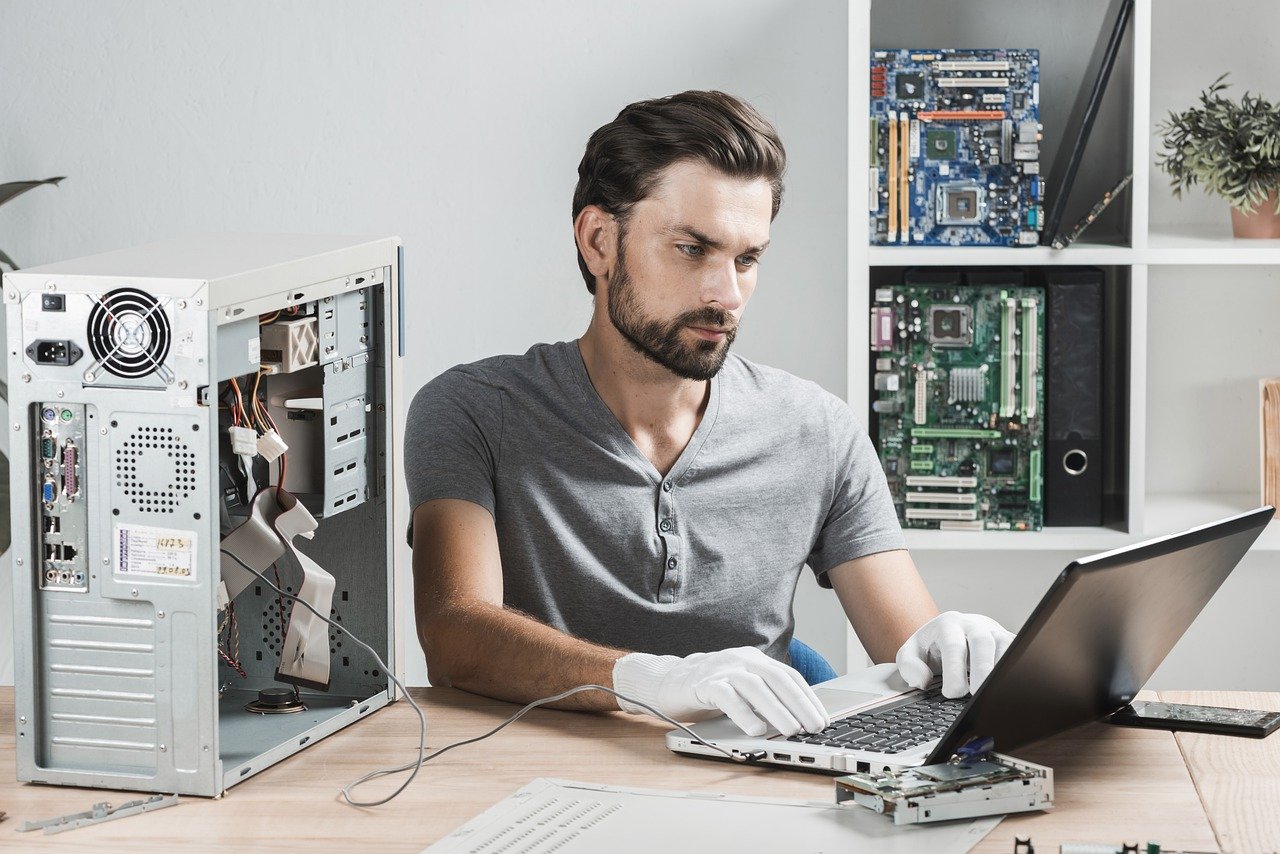
The fastest way we can assist customers is by bringing computers to our workshop, where technicians have the tools to diagnose faults accurately. After checks, if parts are found to be faulty or damaged, we proceed to replace them with high-quality original parts.
No appointments are required; you can drop off your computer at our workshop during working hours.
If you have more queries about our laptop repair and upgrade services, please feel free to contact us at 020 7018 7490 or email us at contact@pcfixlondon.com


Recent Comments