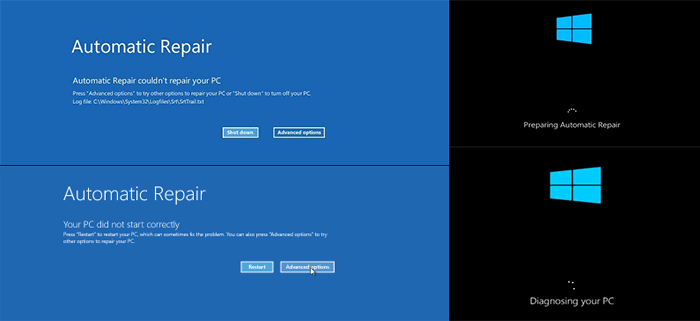
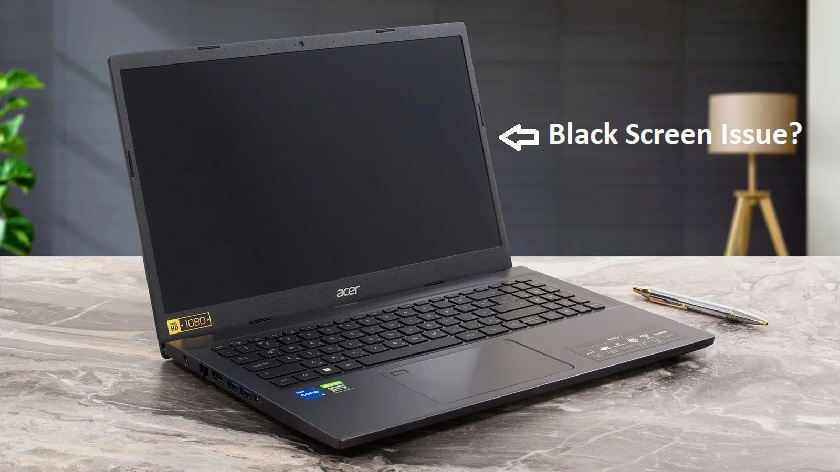
Your Dell laptop isn’t starting up and is stuck in an endless ‘Preparing Automatic Repair’ loop, commonly known as the BSOD (Blue Screen of Death) error loop. Various factors can contribute to this issue. Booting problems can be caused by lost boot files, a messed-up registry, or hardware issues related to the SSD, storage, mainboard, CPU, or graphics card. Below are some of the most common issues and methods to fix your Dell laptop when dealing with an incessant automatic repair reboot loop.
Steps To Fix Dell Preparing Automatic Repair Loop
Step 1: Power Cycle Your PC
- Unplug your Dell laptop and remove the battery if possible.
- Press and hold the power button for around 15 seconds to discharge residual power.
- Reconnect the battery, plug in the power adapter, and power on the laptop.
Step 2: Boot into Safe Mode
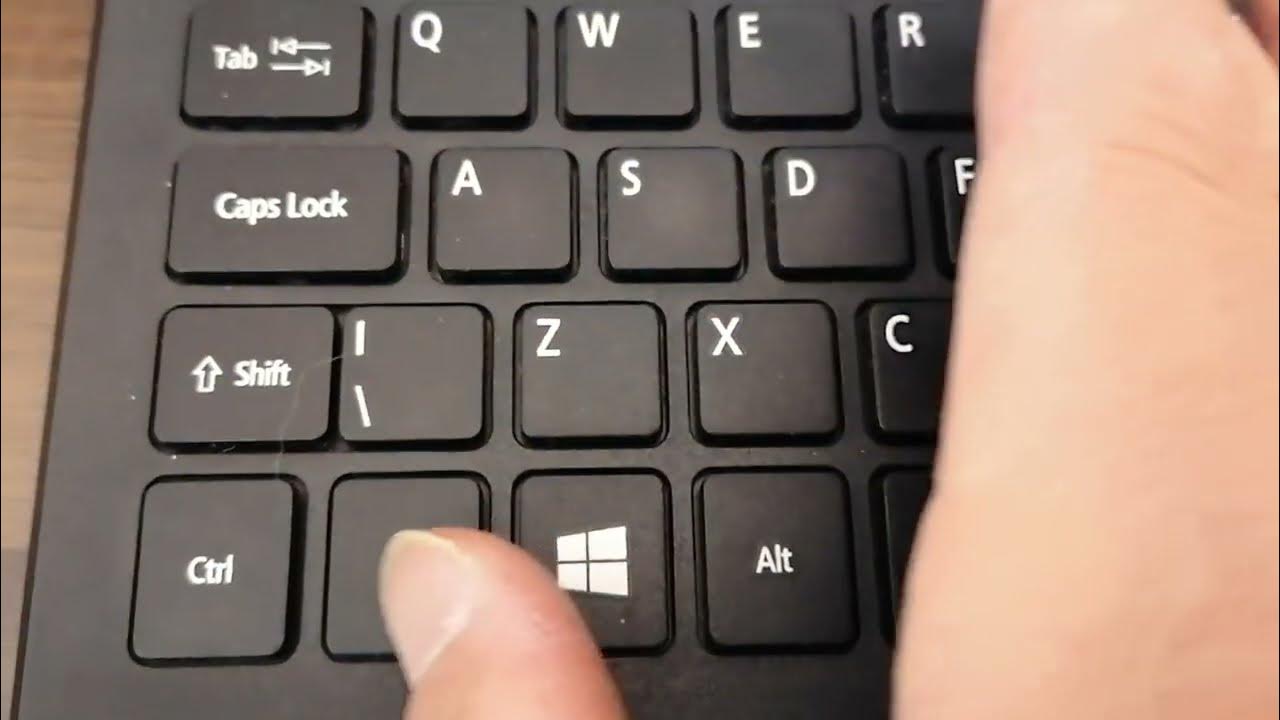
- Restart your Dell laptop and tap F8 repeatedly during boot-up to access Advanced Boot Options.
- Select Safe Mode or Safe Mode with Networking.
- Check if the system boots without freezing or restarting.
Step 3: Use Automatic Repair
- Insert a Windows installation USB or DVD and boot from it.
- Select Repair your computer > Troubleshoot > Advanced options > Startup Repair.
- Let Windows diagnose and attempt to fix the issue automatically.
Step 4: Perform a System Restore
- From the Windows Recovery Environment (WinRE), go to Troubleshoot > Advanced Options > System Restore.
- Choose a restore point created before the issue began and follow the on-screen instructions.
Step 5: Repair the Operating System
- Boot into WinRE and select Troubleshoot > Reset this PC.
- Choose either a soft reset (keeping files) or a hard reset (removing everything).
- Follow the prompts to reinstall Windows.
To restore the system:
- Enter the Windows Recovery Environment (WinRE).
- If your computer doesn’t automatically do this, select Troubleshoot from the Windows repair options.
- Open the Advanced Options section, click System Restore, and carefully follow the on-screen instructions.
- Select the latest System Restore point or whichever one you prefer.
Cleaning the drive completely means losing all your data. A factory reset could be unreachable or might fail. In such cases, rebooting your operating system from scratch might be a move to consider. This step-by-step fixing strategy should help you solve your computer issues.
Tips:
Sudden shutdowns can cause data loss and productivity issues. Worse, they can wipe out your unsaved data, leaving you in a worse position. If you encounter a boot error, you can still access your critical files and folders if you have a backup.
To set up a backup:
- Go to Settings, then click on “Update & Security.”
- Click on “Backup” and look for the section that says “Looking for an older backup” and click on “Go to Backup and Restore.”
- Find the “Set up backup” option and click that. Choose a location (like a removable drive) for your automatic backups to be stored.
- Look for “Computer” and select “Local Disk (C:).”
- You’ll see an option that says “Include a system of drives: System Reserved Windows 10 (C:).” Click this.
- Double-check everything, then click next. You’ll see your backup settings and options to set up a backup schedule. Choose how often, what date, and what time your backup will start.
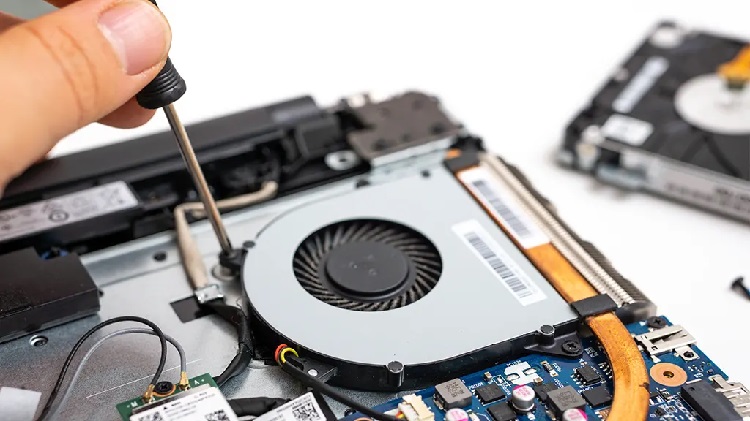
Step 6: Diagnose Hardware Failure
- Remove all external devices (USB drives, CDs, etc.) and restart your laptop.
- During startup, press F12 and select Diagnostics.
- Run a complete diagnostic test to identify any hardware issues.
- Replace any faulty components if necessary.
Step 7: Run a Disk Check (Additional)
- Boot into the recovery environment and open the Command Prompt.
- Type the following command and press Enter:
- This scans the disk for errors and attempts repairs.
Step 8: Disable Automatic Repair (Additional)
- Open Command Prompt in the recovery environment.
- Enter the following commands to disable automatic repair:
- Restart the laptop and check if the issue persists.
Step 9: Update the BIOS (Additional)
- Visit Dell’s support website and download the latest BIOS update for your model.
- Follow Dell’s instructions to safely update the BIOS.
- This can resolve boot issues caused by outdated firmware.
Step 10: Reinstall Windows (Additional)
- If none of the above steps work, perform a clean installation of Windows using a bootable USB or DVD.
- Backup your data if possible, as this will erase everything on the drive.
When to Seek Professional Help
You can fix your Dell laptop stuck in the ‘Preparing Automatic Repair’ loop by using these simple troubleshooting steps. Some cases might require professional help.
If none of the steps resolve the issue, it could be due to faulty hardware such as the hard drive, motherboard, or RAM. Consult with our certified technician for assistance.
If you need assistance upgrading your laptop or handling a tricky repair, reach out to us at contact@pcfixlondon.com. We’re here to help with all your laptop woes.
Disclaimer
Even though we provide these guidelines, they might not always match your computer’s issues. Different problems can cause similar behaviour. For the best assistance, bring your computer to our workshop. We have the tools to accurately diagnose the issue. If we discover faulty or broken parts, we’ll replace them with top-notch originals. Visit our workshop anytime during business hours without an appointment. For more questions about our laptop auto-fix cycle, call us at 020 7018 7490 or email contact@pcfixlondon.com.
Frequently Asked Questions (FAQs): Dell Preparing Automatic Repair Restart Loop:
Q: What is Dell preparing automatic repair restart loop?
A: The Dell preparing automatic repair restart loop is a recurring issue when a Dell computer cannot start properly and automatically enters the Windows automatic repair mode. It can happen for various reasons, including software errors, driver conflicts, or hardware malfunctions.
Q: How can I fix the Dell preparing automatic repair restart loop issue?
A: To fix the Dell preparing automatic repair restart loop, access the Advanced Startup Options menu and select Troubleshoot > Advanced options > Startup Repair. You may also want to try restoring your system to a previous restore point or resetting your PC. If these methods do not work, you may need professional assistance.
Q: What causes Dell to prepare an automatic repair restart loop?
A: The Dell preparing automatic repair restart loop can be caused by various factors, including corrupted system files, driver conflicts, hardware malfunctions, or malware infections. The exact cause of the issue may need to be determined through further troubleshooting.
Q: How long does the Dell preparing automatic repair restart loop take to resolve?
A: The time it takes to resolve the Dell preparing automatic repair restart loop can vary depending on the cause and severity of the issue. It may take a few minutes to several hours to fix the problem.
Q: If I fix the Dell preparing automatic repair restart loop, will I lose my data?
A: Fixing the Dell and preparing an automatic repair restart loop should not result in data loss however not guaranteed until root cause is identified. However, it is always recommended and we back up your data before attempting any repairs or modifications to your system.
Q: Can I prevent the Dell preparing automatic repair restart loop from happening again?
A: To prevent the Dell preparing automatic repair restart loop from happening again, you can try updating your software and drivers regularly, keeping your antivirus software up to date, and performing regular system maintenance and clean up.
Q: Is it safe to interrupt the Dell preparing automatic repair process?
A: It is generally not recommended to interrupt the Dell preparing automatic repair process, as this can cause further system instability or data loss. It is best to allow the process to complete fully before attempting any further repairs.
Q: How can I access Dell’s Advanced Start up Options menu to fix the preparing automatic repair restart loop?
A: To access Dell’s Advanced Startup Options menu, press the F11 key repeatedly while the computer starts. You can select Troubleshoot > Advanced options from there to access various repair and recovery options.
Q: Do I need professional assistance to fix the Dell preparing automatic repair restart loop?
A: While some users can fix the Dell preparing automatic repair restart loop issue independently, others may require professional assistance to diagnose and repair the underlying problem. If you are unsure of how to proceed, it may be best to seek the help of a professional.
Q: Can I disable automatic repair in Dell to prevent the preparation of an automatic repair restart loop?
A: Disabling automatic repair in Dell is not recommended, as this can leave your system vulnerable to future issues. It is best to troubleshoot and fix any underlying problems causing the preparing an automatic repair restart loop instead.


Recent Comments