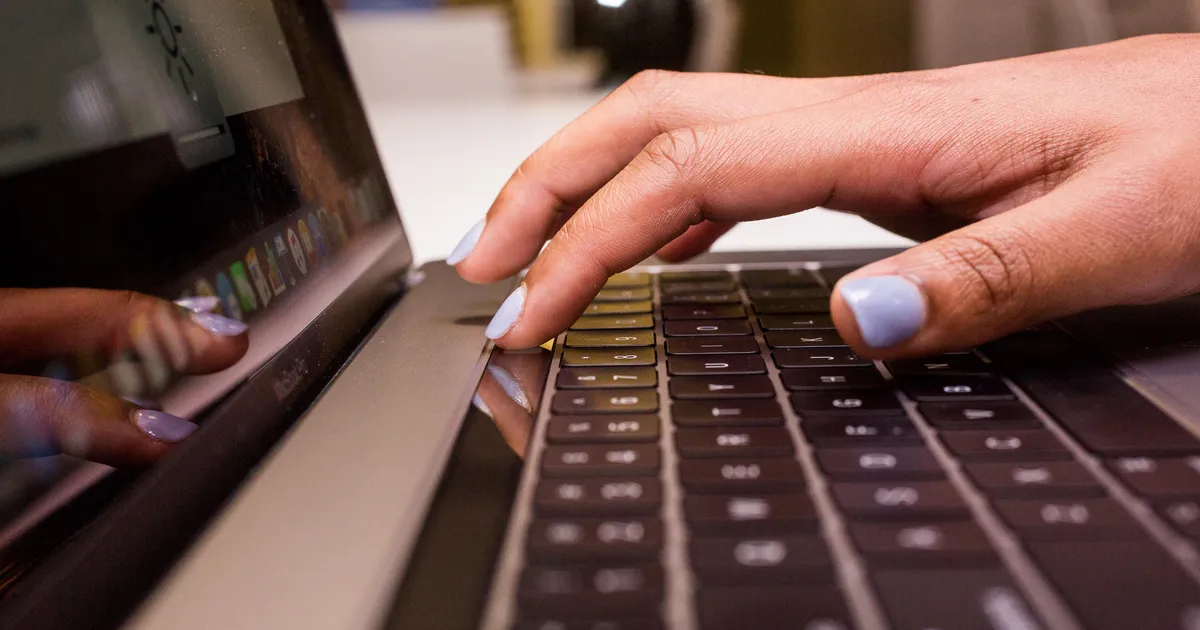
Sticky keys on a MacBook can be frustrating, but with the right approach, you can restore your keyboard’s smooth performance. This guide covers causes, detailed cleaning steps, troubleshooting, prevention, and when to seek professional help.
What Causes Sticky Keys on a MacBook?
-
Spilled Liquids: Coffee, soda, juice, or water can seep under keys, leaving residue.
-
Dust, Crumbs, and Debris: Particles accumulate over time, especially if you eat near your laptop.
-
Wear and Tear: Frequent use can degrade the key mechanism.
-
Humidity and Sweat: Moisture from hands or the environment can contribute to stickiness.
Before You Start: Safety First
1. Power Off and Unplug
Before attempting any cleaning or disassembly, make sure your MacBook is completely shut down. Unplug the power adapter and any connected peripherals to eliminate the risk of electrical damage or short-circuiting.
2. Prepare Your Tools
Gather the following tools to ensure a safe and effective cleaning process:
-
Microfiber Cloth: For gentle wiping of key surfaces without scratching.
-
Isopropyl Alcohol (70% or Higher): Used to dissolve sticky residues without damaging electronics.
-
Cotton Swabs: Ideal for reaching tight spaces and applying alcohol in small amounts.
-
Toothpick or Soft Brush: Helps remove solid debris like crumbs without harming components.
-
Keycap Removal Tool (Plastic Spudger): Allows for safe removal of keycaps without breaking clips or switches.
-
Compressed Air: Blows out dust and particles from between the keys.
-
Small Bowl of Warm, Soapy Water: Used to clean detached keycaps.
-
Paper Towels: For drying cleaned components and wiping surfaces gently.
Set up your workspace on a clean, flat surface with good lighting. Have a small container ready to keep removed keycaps safe and organized during cleaning.
Step-by-Step: Cleaning Sticky MacBook Keys
1. Initial Cleaning (Without Removing Keys)
-
Compressed Air: Hold your MacBook at a slight angle and use short bursts of compressed air to blow debris from between the keys. Rotate the laptop and repeat from different angles.
-
Alcohol Wipe: Lightly dampen a microfiber cloth or cotton swab with isopropyl alcohol. Gently wipe around and over the sticky keys. Avoid using too much liquid—never pour or spray directly onto the keyboard.
2. Detailed Cleaning (Removing Keycaps)
Remove Keycaps Carefully
-
Use a plastic spudger or keycap removal tool to gently pry up the edge of the sticky key.
-
For butterfly switches, lift from the top corners. For scissor switches, begin at the bottom edge.
-
Be especially gentle with larger keys (e.g., Shift, Return), as they may have stabilizer bars underneath.
Clean Under the Keys
-
Use a toothpick or soft brush to loosen and remove visible dirt, crumbs, or gunk beneath the keycap.
-
Dampen a cotton swab with isopropyl alcohol and clean the exposed key area. Ensure alcohol doesn’t drip into the internals.
Soak and Clean Keycaps
-
Place the removed keycaps in a small bowl of warm, soapy water. Let them soak for about 10 minutes.
-
Rinse with clean water and pat dry with a paper towel. Let them fully air dry before reassembly.
Clean the Key Mechanisms
-
Use a cotton swab with alcohol to gently wipe the plastic “key carrier” (the structure beneath the keycap) if sticky.
-
If the mechanism comes off, carefully realign and snap it back in place according to its original orientation.
3. Reassembly
-
Ensure all keycaps and components are completely dry.
-
Align each keycap with its slot and press down firmly until it clicks into place.
-
Test each cleaned key by pressing it several times to confirm smooth operation.
Troubleshooting: If Keys Remain Sticky
-
Repeat Cleaning: Stubborn residue might require a second round of cleaning.
-
Inspect Mechanisms: If a key remains stiff or non-functional, the underlying mechanism might be damaged.
-
Consider Professional Help: If problems persist, the issue could be deeper (e.g., internal corrosion or circuit damage).
Preventing Sticky Keys
-
Avoid Eating/Drinking Near Your MacBook: Food and drinks are the top contributors to sticky keys.
-
Weekly Maintenance: Clean your keyboard regularly using compressed air and a microfiber cloth.
-
Use a Keyboard Cover: A silicone cover can shield the keyboard from dust, moisture, and spills.
When to Seek Professional Help
-
Major Liquid Spills: Large spills can affect internal components like the logic board and battery.
-
Non-Responsive Keys: If keys don’t respond after cleaning, hardware repair may be required.
-
Warranty Concerns: DIY disassembly can void your warranty. Always check your AppleCare or manufacturer coverage before proceeding.
Frequently Asked Questions (FAQs)
Q: Can I use water to clean the keyboard?
A: No. Only use a slightly damp cloth or swab. Never pour water directly on your MacBook.
Q: Is it safe to remove all keycaps?
A: Most letter keys are safe to remove. Larger keys with stabilizers are more delicate—avoid or proceed with caution.
Q: What if my MacBook keyboard still doesn’t work?
A: If issues persist, the keyboard may need a full replacement or further inspection for logic board damage.
Need Professional Help in London?
If your MacBook keyboard is still sticky or unresponsive after following these steps, visit PC Fix London for expert diagnostics and repairs.
- No appointment needed – walk in anytime
- 020 7018 7490
- contact@pcfixlondon.com


Write a Comment