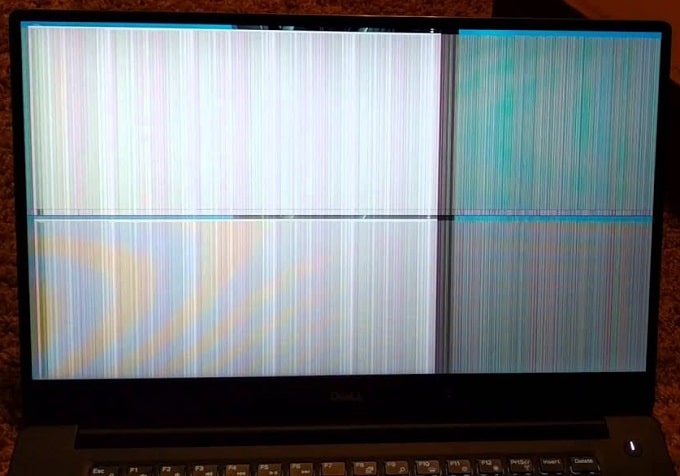
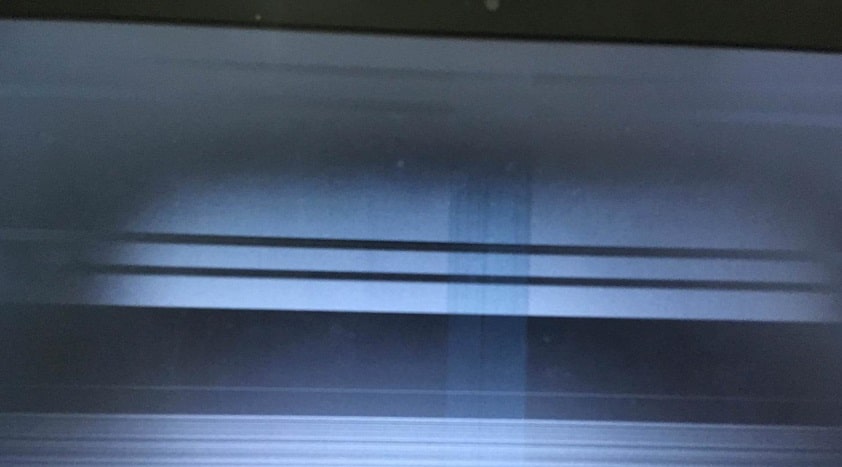
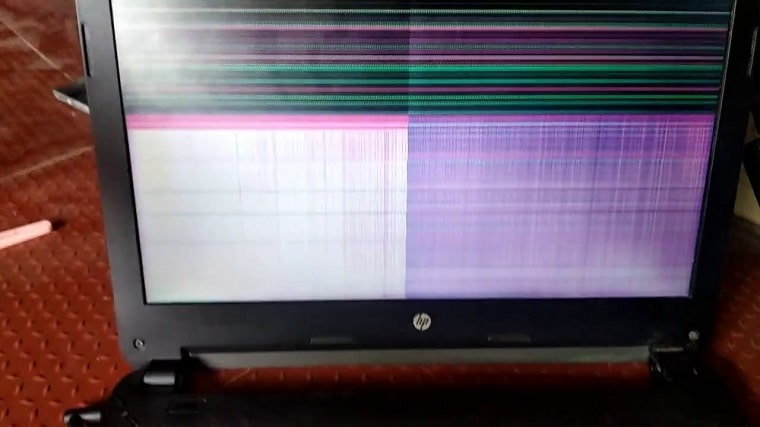
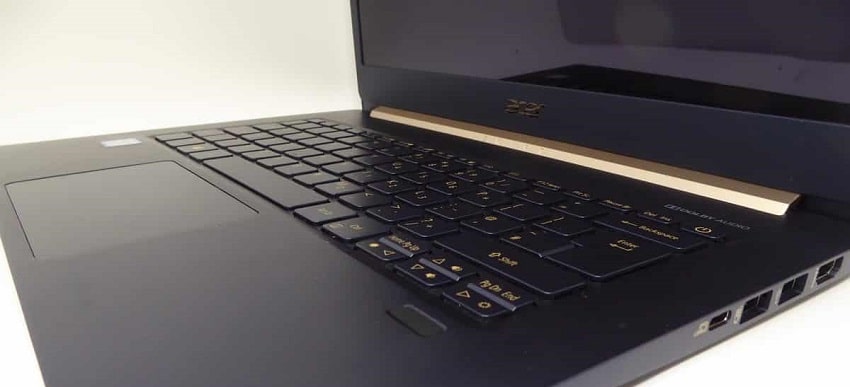
Having horizontal lines on your Samsung laptop screen can be highly irritating and even affect the performance of your device. Fortunately, there are some relatively simple steps you can take to troubleshoot and fix this issue. This article will discuss how to fix Samsung laptop horizontal lines on the screen and provide instructions for fixing them. With a few easy steps, you should be able to have your laptop back up and running in no time!
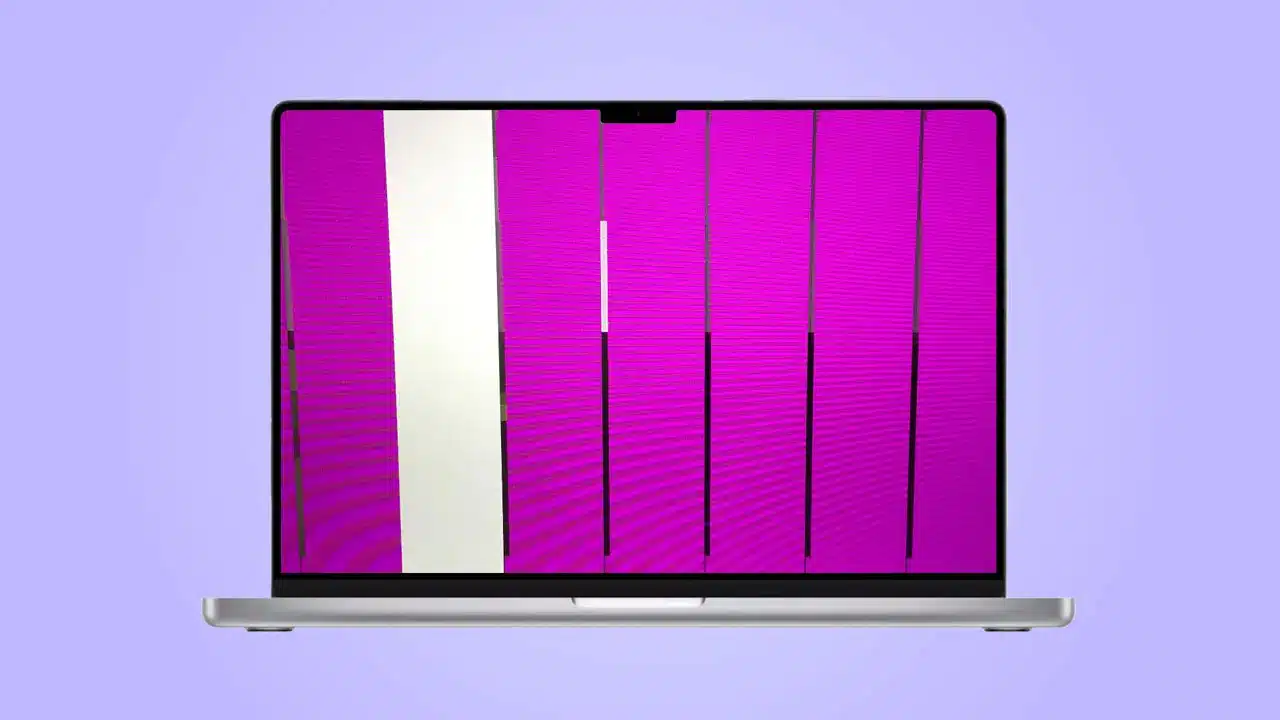
Why do Horizontal Lines appear on the screen?
Having horizontal lines appearing on the screen of your Samsung laptop can be annoying and affect its performance. To resolve this issue, it is essential first to identify the cause of the lines to take the necessary steps for a fix. Potential causes range from hardware problems, such as faulty cables, malfunctioning display drivers, or outdated graphic cards, to software issues, such as corrupted drivers or files.
Once you have identified the cause, you can take the necessary steps for a fix.
Step 1: Identify the Cause of Horizontal Lines
Identifying the cause of horizontal lines appearing on your Samsung laptop screen can be difficult, but it is an essential first step in resolving this issue. There are several potential causes, including hardware or software problems, so it is essential to take the time to identify the root cause of the issue before attempting to fix it.
Hardware problems: These include faulty cables, malfunctioning display drivers, or outdated graphic cards. If you suspect any of these issues may be the cause, it is best to consult a professional technician to help diagnose and resolve it.
Software problems: These involve corrupted files or incompatible hardware and software components. To identify if this is the source of your problem, running a system diagnostic scan on your laptop is essential. It should help identify any software-related issues causing the horizontal lines.
Step 2: Run a System Diagnostic Test for Software Issues
Running a system diagnostic test for software issues on your Samsung laptop can help identify and solve the problem causing horizontal lines to appear on the screen. This test will scan your laptop’s internal components and software to find any issues that may be causing the issue.
You must first access the BIOS menu to run a system diagnostic test. It can be done by pressing the F2 or ESC keys on your laptop’s keyboard after powering it up. Once you have accessed the BIOS, navigate to the Diagnostics tab and follow the prompts for running a system diagnostic test.
Once the test is complete, you should receive a report that outlines any issues that have been identified. It should provide insights into what may be causing the horizontal lines on your Samsung laptop screen and help you take the necessary steps to fix it.
Step 3: Fix Horizontal Lines on Your Laptop Screen
Once you have identified the cause of the horizontal lines appearing on your Samsung laptop screen, you can take the necessary steps for a fix.
If the cause is a hardware issue, replacing the faulty components or upgrading them will be necessary. It can be done by consulting a professional technician to help diagnose and resolve this issue.
If the cause is a software issue, it may be possible to update your display drivers or perform a system restore. It should help resolve any corrupted drivers or software causing the issue.
Having horizontal lines on your Samsung laptop screen can be highly irritating and even affect the performance of your device. Fortunately, there are some relatively simple steps you can take to troubleshoot and fix this screen issue on Samsung laptop. Identifying the cause of the problem is the first step in resolving this issue, and then you can take the necessary steps for a fix. With a few easy steps, you should be able to have your laptop back up and running in no time!
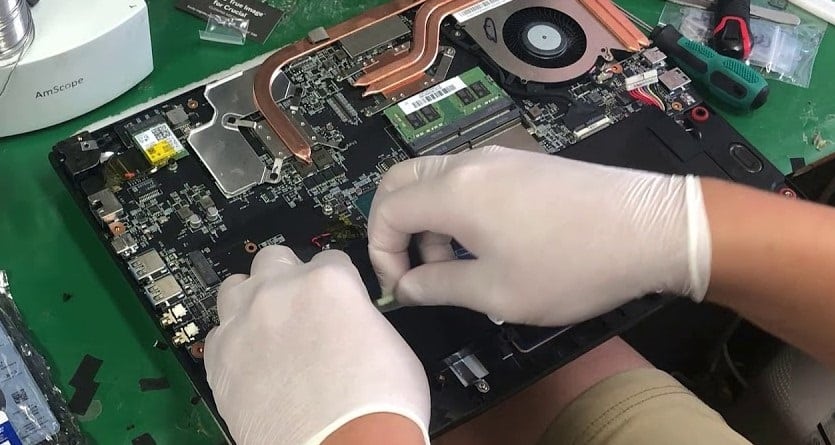
Step 4: Upgrade or Replace Components for Hardware Problems
Suppose a system diagnostic test reveals that the cause of the horizontal lines on your Samsung laptop screen is due to hardware-related issues. In that case, you will need to take the necessary steps for upgrading or replacing components. It can be done by consulting a professional technician or attempting do-it-yourself repairs.
If using a technician for repairs, they will have access to the necessary replacement components and tools to upgrade your device successfully. But if you are replacing components yourself, it is essential to research the right type and model of parts before purchasing them.
If the replacement or upgrade of components is successful, these fixes should resolve any issues causing the horizontal lines on your Samsung laptop screen. In this way, you can enjoy a fully functioning laptop.
Step 5: Reinstall Drivers For A Permanent Solution
Reinstalling drivers on your Samsung laptop is an effective way to fix any horizontal lines on the screen permanently. It can be done by downloading and installing the latest version of your laptop’s display driver from your device manufacturer’s website.
When reinstalling a driver, you should uninstall the old one first. To do this, open your device manager and expand the display adapters section. Right-click on the driver you wish to uninstall, then select the Uninstall Device option from the drop-down menu.
Next, go to your laptop manufacturer’s website and search for the latest version of your display driver. Download it, then run the installation process on your laptop. Once the installation is complete, restart your laptop and check if the horizontal lines have been fixed.
By following these steps, you should be able to permanently fix any issues causing horizontal lines on your Samsung laptop screen. It will help you enjoy a smooth user experience with your device again.
Conclusion
Please note that the guideline instructions provided may not always apply to the symptoms your computer is experiencing. Sometimes, symptoms or behavior can be the same, but the underlying reason or fault can be completely different.
The fastest way we can assist customers is by bringing computers to our workshop, where technicians have the tools to diagnose faults accurately. After checks, if parts are found to be faulty or damaged, we proceed to replace them with high-quality original parts.
No appointments are required; you can drop off your computer at our workshop during working hours.
If you have more queries about our laptop repair and upgrade services, please feel free to contact us at 020 7018 7490 or email us at contact@pcfixlondon.com


Recent Comments