You may wonder what to do if you’ve recently purchased an Asus Vivobook laptop and the BIOS screen is stuck. There are a few simple steps that you can follow to repair your computer. It will help you to install a new OS on your system. Let’s discuss how to repair Asus Vivobook stuck in Bios.
How To Repair Asus Vivobook Stuck in Bios?
First method
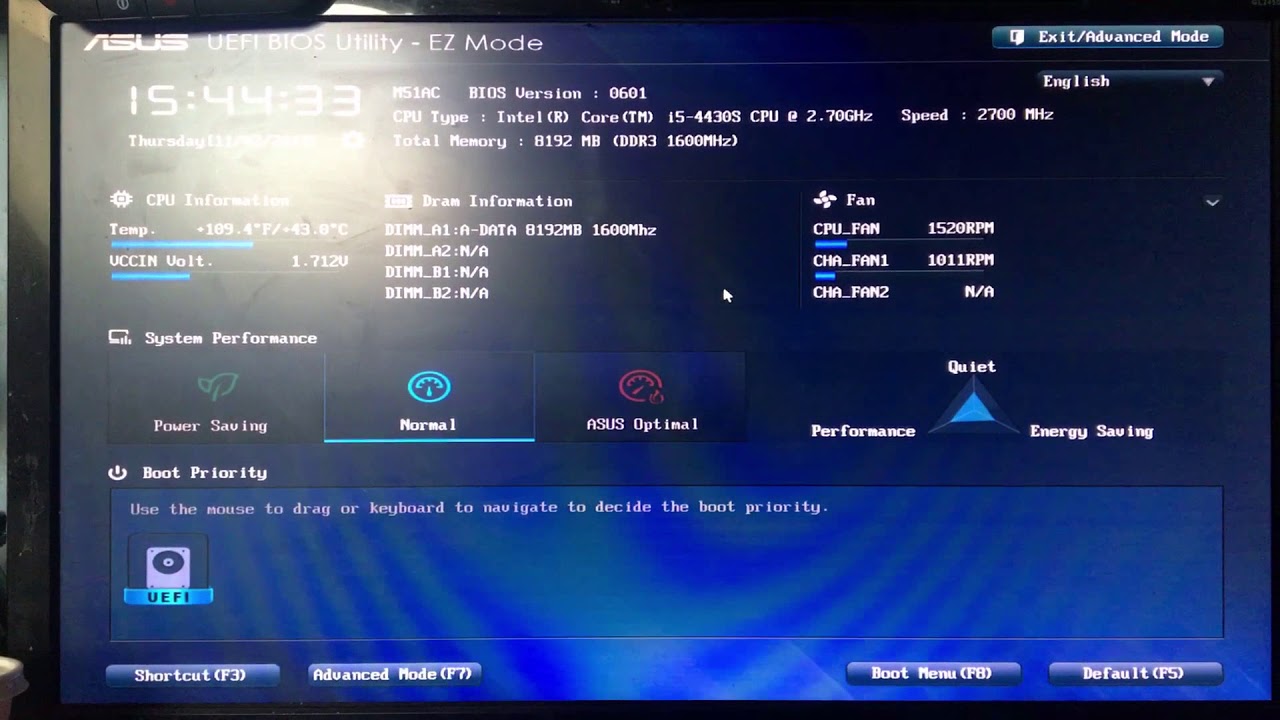
The first step is to remove the power cord from the laptop and open it. Press and hold the F2 key on your keyboard. A BIOS screen should appear. Hold the power button for at least 15 seconds if you don’t see it. After the BIOS screen appears, you’ll see the BIOS configuration.
If you can’t get through the BIOS screen, the problem may lie in the Windows operating system. It will prevent the PC from booting and keep displaying a locked screen if it is corrupted. The arrow keys will be your best option in this case. Hit the ENTER key to save your changes, then use the arrow keys to navigate the BIOS menu. This simple procedure will restore all data and settings to the original settings and start your laptop with a new operating system. A factory reset may also be beneficial if your computer has a hardware problem, such as a defective hard drive. Now you can install your OS to your system.
Second Method
A corrupt BIOS or slow hard drive may require you to reset your Asus laptop to its default settings. Before the Asus logo appears, access the Control Panel and press the F9 key.
● Click on Fully Clean the Drive under the Troubleshoot menu.
● Restart your Asus laptop once the factory reset has been completed.
● Please be patient, as this will wipe all your saved data.
Third method
To access your laptop’s basic input and output system, you need a BIOS password. You can reset this password to gain access to the settings, but unauthorized access to the hardware is prohibited. BIOS passwords are set by default at the factory and can be reset anytime.
Step 1:
You must press the F2 or Esc key while the laptop is on. In the BIOS settings, look for the Administrator Password. You will need to enter the administrator password.
Step 2:
You must need to remember the administration and security password. Click OK after entering the password. Afterward, you can reenter the password to reset the BIOS.
Step 3:
Start the boot process by entering the boot menu. To open the Boot Menu, press F10 while restarting your Asus Vivobook. You should use the windows recovery disk to reinstall your OS. You must take the laptop to an authorized service centre if you do not have the recovery disk. You can restore your data with the help of a certified ASUS service team. After completing this process, you can start your laptop. A new version of the OS will then be loaded.
Final Worlds
The article will help you to understand how to repair Asus Vivobook stuck in Bios. It is a simple and ordinary problem people face while using a laptop. If confused, you can come to our repair shop.
Please note that the guideline instructions provided may not always apply to the symptoms your computer is experiencing. Sometimes, symptoms or behavior can be the same, but the underlying reason or fault can be completely different.
The fastest way we can assist customers is by bringing computers to our workshop, where technicians have the tools to diagnose faults accurately. After checks, if parts are found to be faulty or damaged, we proceed to replace them with high-quality original parts.
No appointments are required; you can drop off your computer at our workshop during working hours.
If you have more queries about our laptop repair and upgrade services, please feel free to contact us at 020 7018 7490 or email us at contact@pcfixlondon.com
About Bilal
Bilal Tahir is a certified technician with over 20 years of experience in computer hardware repair and IT services. He holds an NVQ Level 4 qualification in Electronics along with industry recognised certifications including Microsoft Certified Systems Engineer (MCSE, 2006) certification number 8A522B-26C1CX and Cisco Certified Network Associate (CCNA). Bilal began his career as a Network Administrator where he developed strong expertise in managing and maintaining IT systems and networks. Over time, he developed a deep interest in hardware repairs particularly component level diagnostics and repair electronics which led him to specialize in advanced motherboard and device level troubleshooting. He has worked across all major laptop and computer brands providing precise reliable repairs. With a strong technical foundation and hands on experience, Bilal is known for delivering high quality solutions for both individuals and businesses.
Write a Comment